
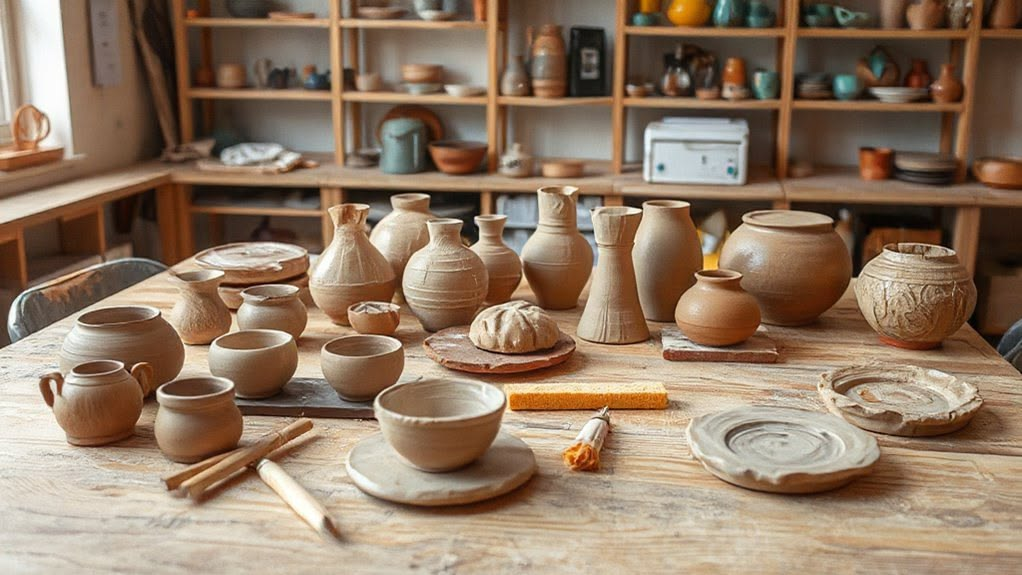
There is a distinct, grounding kind of magic that happens when you sit down with a messy lump of earth and force yourself to slow down. In a world completely saturated by high-speed screens, constant notifications, and instant digital everything, working with clay feels like an anchor. It demands your physical presence. Your hands get dirty, your mind stops racing, and bit by bit, a form starts to emerge.
The best part? You do not need an expensive studio membership, a heavy electric pottery wheel, or a blazing 2,000-degree kiln tucked away in your kitchen to experience this. Modern crafting has evolved. Whether you pick up a block of traditional earthenware ceramic clay or user-friendly air-dry clay from your local craft store, hand-building opens up a massive world of creative freedom right at your own kitchen table.
If you are looking for a weekend hobby that lets you unplug, get your hands dirty, and craft pieces you will actually want to display in your home, you are in the right place. Let’s dive into a comprehensive, deeply practical guide to easy pottery crafts you can make right now.
Why Hand-Built Pottery is Having Such a Massive Moment
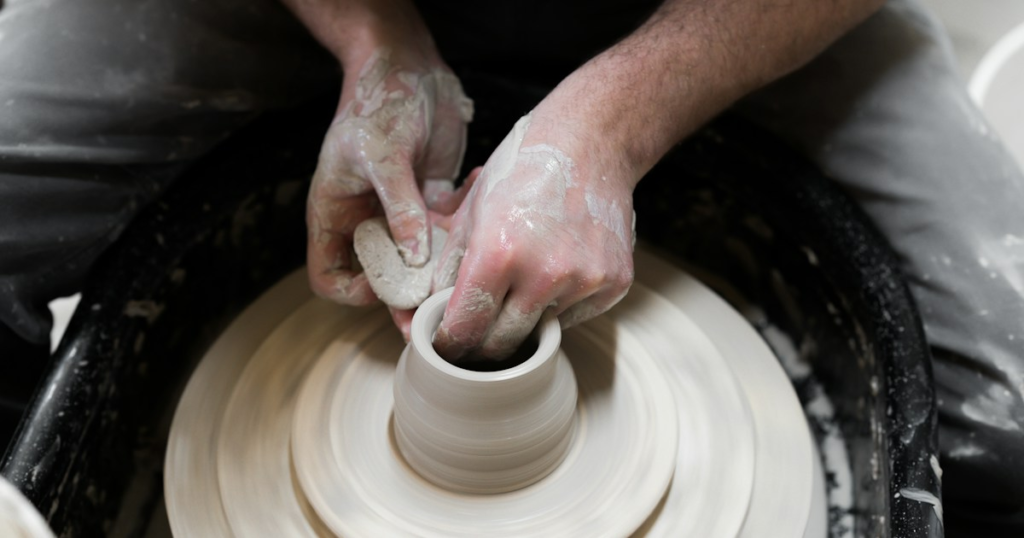
Lately, interior design and home decor trends have taken a sharp turn away from mass-produced, factory-perfect perfection. Walk into any modern, thoughtfully styled home today, and you will notice an appreciation for character, asymmetry, and raw, organic textures.
People are tired of sterile perfection. The slight, accidental thumbprint left on the side of a handmade bowl, the slightly uneven rim of a ceramic vase, or the quirky charm of an imperfect trinket dish tell a story. They scream human.
Hand-building pottery at home isn’t about creating museum-quality masterpieces on your first try. It is about embracing the wobbles, experimenting with shapes, and enjoying the tactile process. It is messy, surprisingly therapeutic, and completely forgiving.
Essential Household Tools: What You Actually Need
Before we jump into the step-by-step projects, let’s clear up a common misconception: you do not need a professional toolkit to get started. In fact, most of the best tools are already sitting in your kitchen drawers or garage.
- A Solid Workspace: A smooth wooden cutting board, an old vinyl place mat, or even a large piece of canvas works wonders so the clay doesn’t stick to your kitchen table.
- A Rolling Pin: A standard wooden baking rolling pin (or even a thick, smooth glass bottle) is your best friend for rolling out flat slabs.
- Cutting Tools: A butter knife, a pizza cutter, or an old credit card works brilliantly for slicing straight lines and geometric shapes.
- Texturing Items: Save bits of old lace, textured buttons, woven placemats, dried leaves, or even the back of a kitchen fork to press unique patterns into your clay.
- Water and a Sponge: A tiny bowl of water and a soft kitchen sponge will help you smooth out rough edges and seal cracks as you work.
The Classic Pinch-Pot Trinket Dish
Difficulty Level: Absolute Beginner
Time Commitment: 45 minutes (plus drying time)
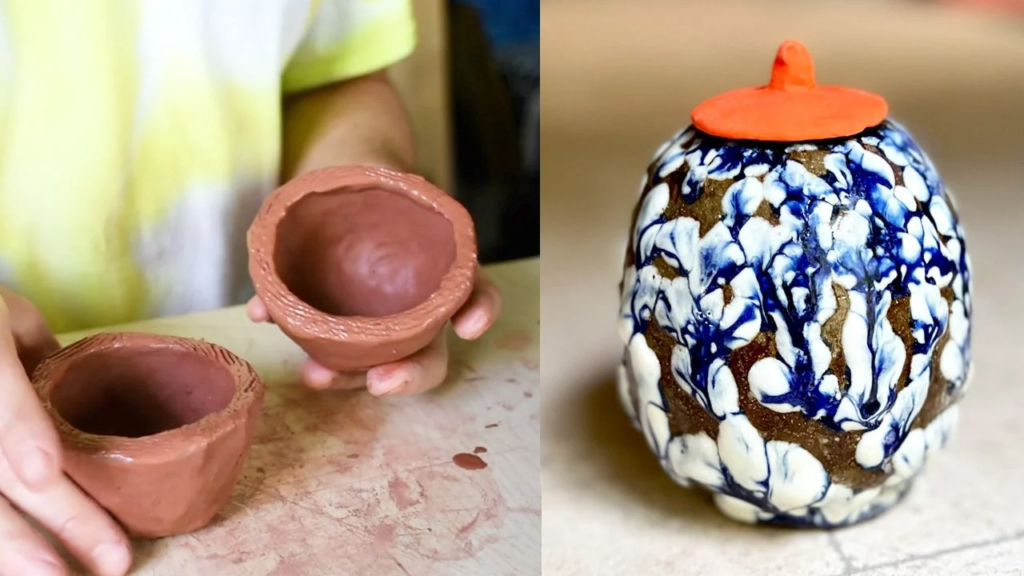
If you have literally never touched a piece of clay in your life, this is where your journey begins. Pinch pots rely on the oldest pottery technique in human history. It requires zero specialized tools—just your palms, a solid ball of clay, and a little bit of patience.
How to Make It:
Roll the Ball: Pinch off a chunk of clay and roll it smoothly between your palms until it forms a uniform ball roughly the size of a lemon.
The Center Press: Hold the ball securely in one hand and gently press the thumb of your opposite hand deep into the center. Be careful not to punch all the way through—you want to leave a thick, sturdy base at the bottom (about a half-inch thick).
Pinch and Rotate: Slowly work your way around the inner circle. Use your thumb on the inside and your fingers on the outside to pinch the walls upward and outward. Rotate the clay slightly with every pinch to keep the thickness even.
The Design Vibe:
Resist the urge to smooth away every single line. Leaving subtle thumbprints or slightly irregular, wavy edges gives the piece an authentic, wabi-sabi charm that you simply cannot buy in a department store.
Best Used For:
Once dry and sealed, keep it on your bedside table, entryway console, or kitchen windowsill to catch everyday rings, house keys, or loose earrings.
Textured Slab-Built Spoon Rest
Difficulty Level: Beginner
Time Commitment: 1 hour
Kitchen counters always seem to accumulate clutter, but they desperately need a tidy, dedicated landing spot for messy cooking spoons dripping with olive oil or sauce. A custom clay spoon rest adds a touch of handmade warmth right to the heart of your kitchen.
How to Make It:
Roll the Slab: Roll out an even slab of clay—aim for roughly a quarter-inch thick—using your rolling pin. Try to keep the pressure consistent so one side isn’t paper-thin while the other is bulky.
Cut the Shape: Use a butter knife to cut out a gentle oval, a stylized leaf, or a clean geometric shape.
Add Texture and Curve: Press a real wooden cooking spoon, a textured piece of vintage lace, or dried botanical leaves right into the center of the clay to create a natural indentation and pattern. Gently curve the outer edges of the clay upward so it can successfully catch any kitchen drips.
Pro Tip:
If you press real leaves or pine sprigs into the wet clay before cutting them out, you will capture a gorgeous, organic fossilized print. Once painted or glazed, these look like high-end artisan kitchenware.
Minimalist Coil-Built Bud Vase
Difficulty Level: Advanced Beginner
Time Commitment: 2 hours
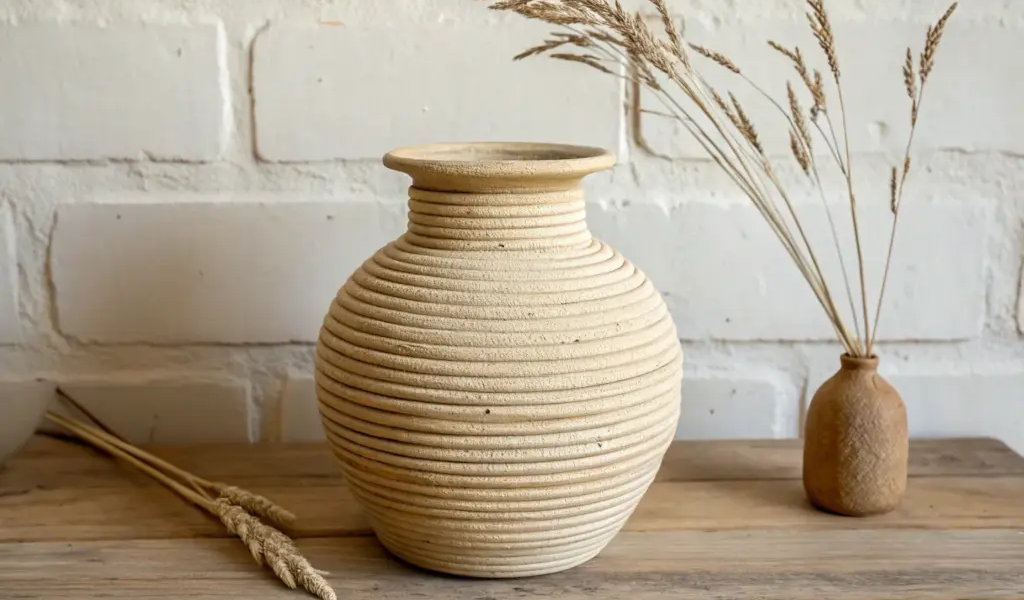
Coil building sounds intimidating and technical, but it is actually one of the most relaxing methods in pottery. It is essentially just rolling uniform “snakes” of clay and stacking them on top of one another. It is the absolute best method for creating taller, structural pieces without needing a potter’s wheel.
How to Make It:
Create the Base: Cut a flat circular base out of a rolled clay slab using the rim of a drinking glass as a stencil.
Roll the Coils: Roll out uniform ropes of clay between your palms and the table. Try to keep them about the thickness of your index finger.
Stack and Blend: Lay your first coil in a circle along the outer edge of your base. Crucially, use your finger or a wooden tool to firmly smooth the interior seams tightly so they structuralize properly. Keep stacking and blending coils upward, gently tapering the neck inward if you want a narrow, elegant opening for single-stem dried botanicals.
The Design Vibe:
You can smooth the exterior completely flat with a wet sponge for a clean, modern architectural look, or leave the individual coil rings partially visible on the outside for a rustic, tactile, basket-weave aesthetic.
Whimsical Ring Cones and Jewelry Stands
Difficulty Level: Beginner
Time Commitment: 45 minutes
Are you constantly dealing with tangled necklaces and lost earring backs? Sculpting a cluster of ring cones on a shared tray is quick, deeply addictive, and makes a heartfelt handmade gift for a friend or family member.
How to Make It:
Form the Cones: Take a small chunk of clay and roll it between your palms into a smooth teardrop or cone shape.
Anchor to the Tray: Stand the cone upright and press its flat bottom firmly onto a small, separate flat circular tray or dish.
Add Companion Bowls: To maximize functionality, mold a couple of tiny companion bowls right onto the same base tray to hold small hoops, studs, and butterfly backings.
Styling Idea:
Paint your finished stands in soft, earthy terracotta tones, sage greens, or muted pastels to seamlessly match your bedroom aesthetic.
Golden Rules for Working with Clay at Home
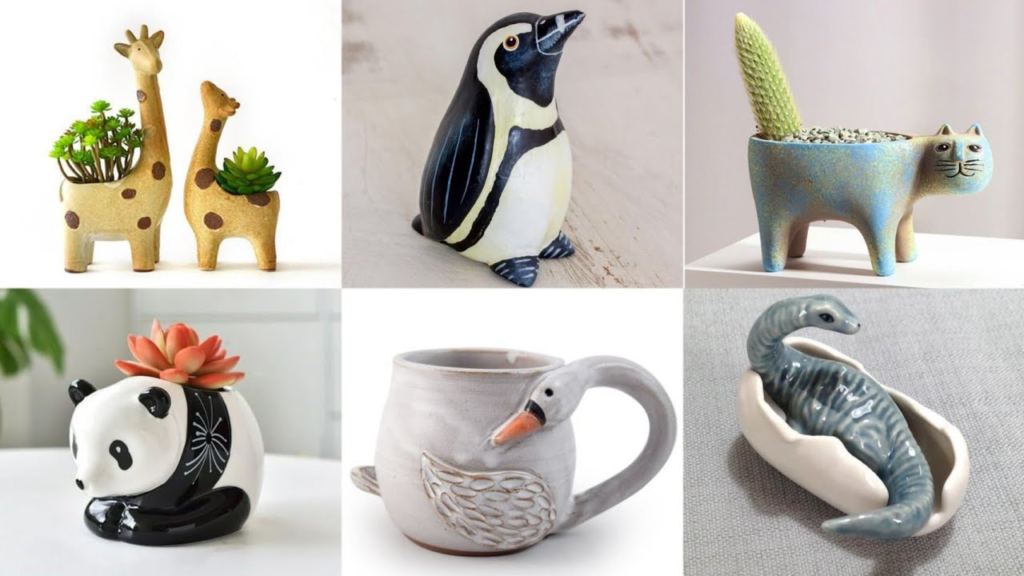
Working with clay at home is wonderfully straightforward, but keeping a few vital technical pointers in mind will save you from heartbreak when your pieces dry and shrink.
- Never Skip “Scoring” When Attaching Pieces: If you are sticking a handle, a coil, a ring cone, or a decorative element onto another piece of clay, you must scratch up (“score”) both contact surfaces with a needle tool, fork, or knife. Dab a tiny bit of water or liquid clay slip on them, then press them together firmly. If you skip this step, the pieces will cleanly snap apart as they dry and shrink.
- Dry Your Pieces Slowly: If clay dries too fast—such as sitting directly next to a radiator, a space heater, or harsh direct sunlight—it will warp, twist, or crack down the middle. Cover your projects loosely with a plastic grocery bag or a lightweight sheet of plastic for the first 24 to 48 hours to let the moisture escape slowly and evenly.
- Seal Air-Dry Clay Properly: If you choose to use non-fired air-dry clay (which is fantastic for indoor decor), keep in mind that it remains porous and will soften if it gets wet. Protect your finished creations by brushing on two to three coats of a clear acrylic varnish, matte sealer, or gloss finish to make them durable and dust-resistant.